Potting Mix for Edible Containers
Drainable mix ratios, when to add lime or castings, and reuse rules for vegetable and herb pots on USDA 6–8 balconies.
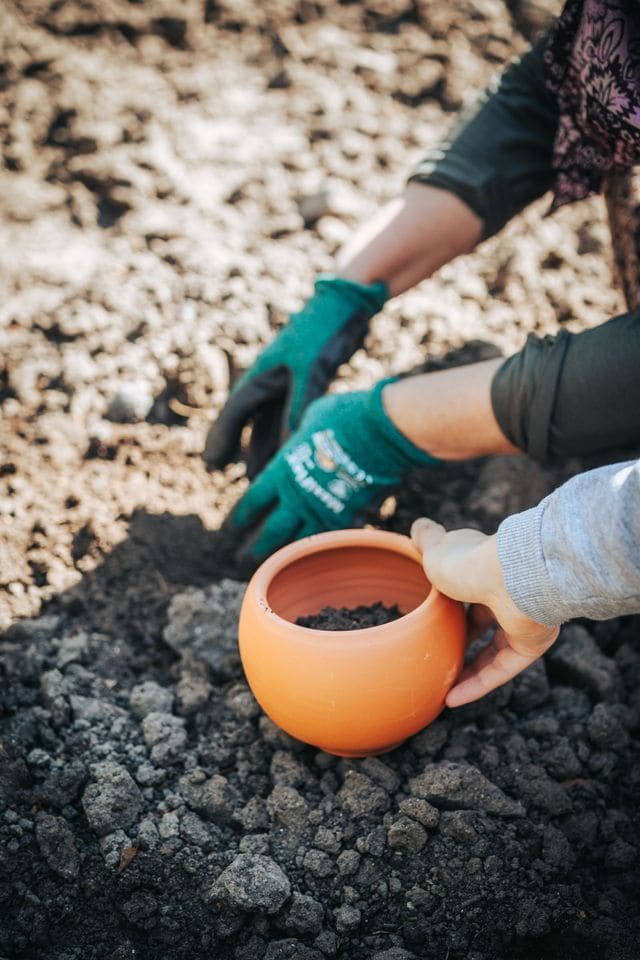
Photo: seyfi durmaz / Pexels · free stock, attributed
Edible pots fail more often from soggy or lifeless mix than from “wrong fertilizer brand.” On temperate Northern Hemisphere urban balconies (USDA zones 6–8), use a container blend that drains in about a minute after watering, then feed on a schedule — the bag’s starter charge usually fades after 3–6 weeks of summer irrigation. Hotter climates dry coarser mixes faster; cooler wet springs punish peat that stays cold and sour.
This guide focuses on food crops. For shared ornamental rules (no gravel layer, castings rates), see soil mix and worm castings.
Compiled from common balcony edible-container practice.
What to put in the pot
| Component | Role | Notes |
|---|---|---|
| Quality container mix (peat or coir base) | Structure + moisture | Buy “container” or “potting,” not heavy topsoil |
| Perlite or pumice 10–20% by volume | Drainage | Stir into compressed bags that feel muddy when wet |
| Worm castings 5–10% (optional) | Mild biology / nutrients | Do not replace fertilizer for fruiting crops |
| Pine bark fines (optional) | Longer structure | Useful in large tomato pots that stay wet |
Skip garden soil and “potting soil” that packs like clay. Skip a rock or foam “drainage layer” under the mix — water still perches above the fine layer.
Crop tweaks
| Crop group | Mix note |
|---|---|
| Lettuce, spinach, herbs | Finer texture OK; keep drainage honest so crowns do not rot |
| Tomato, pepper, eggplant | Coarser blend; larger volume buffers heat |
| Blueberry (later guide) | Acid-labeled mix; do not limed vegetable mix |
| Carrot / radish troughs | Stone-free; deep enough for the root type |
Dolomitic lime or “garden lime” appears in some vegetable bed recipes to raise pH and add magnesium. On balconies, most bagged mixes already sit near neutral. Only add lime products at labeled grams per liter if a soil test or crop guide calls for it — do not free-pour.
Potting steps
- Confirm open holes; scrub salt crust from reused pots.
- Pre-moisten mix until it clumps lightly and breaks. Dry peat sheds water and leaves dry pockets around roots.
- Fill with mix only. Tap to settle; do not fist-compact.
- Set the plant at the right depth (tomatoes may go deeper; peppers and basil stay at the nursery line).
- Leave 2–3 cm of headspace for watering. Water to slight runoff; empty saucers within 30–60 minutes.
Wet mass matters when you line up several 20–25 L fruiting pots — use the weight tool.
Reuse and disease
| Situation | Action |
|---|---|
| Last year’s herb or flower mix, healthy | Remove roots, dry, blend 1:1 with fresh mix + fresh perlite |
| Tomato / pepper / eggplant mix after disease | Discard; do not plant new nightshades in it |
| Sour, anaerobic smell | Discard entirely |
| Midsummer crust that repels water | Scratch surface; remoisten slowly; consider 1–2 cm fine bark mulch |
Fruiting crops still need thin, frequent fertilizer after the starter charge washes out. Leafy crops lean nitrogen; fruiting crops need a vegetable-labeled formula through flowering and fruit set.
Season cues (zones 6–8)
| Window | Move |
|---|---|
| March–April | Fresh mix for frost-tender transplants |
| May–June | Castings at transplant if using them; start dilute liquid after 10–21 days |
| July–August | Mulch surface in heat; do not add castings to “fix” drainage |
| September–October | Reduce feed; store fabric pots dry if winter rain is constant |
Sources
- University of Minnesota Extension — Growing vegetables in containers
- UC ANR Stanislaus Sprout — Gravel does not improve drainage
- Colorado State University Extension — Container gardens