Balcony Edible Container Kit
Pot shapes, drainage feet, and a short tool list for growing vegetables and herbs on USDA 6–8 urban balconies without blocking exits.
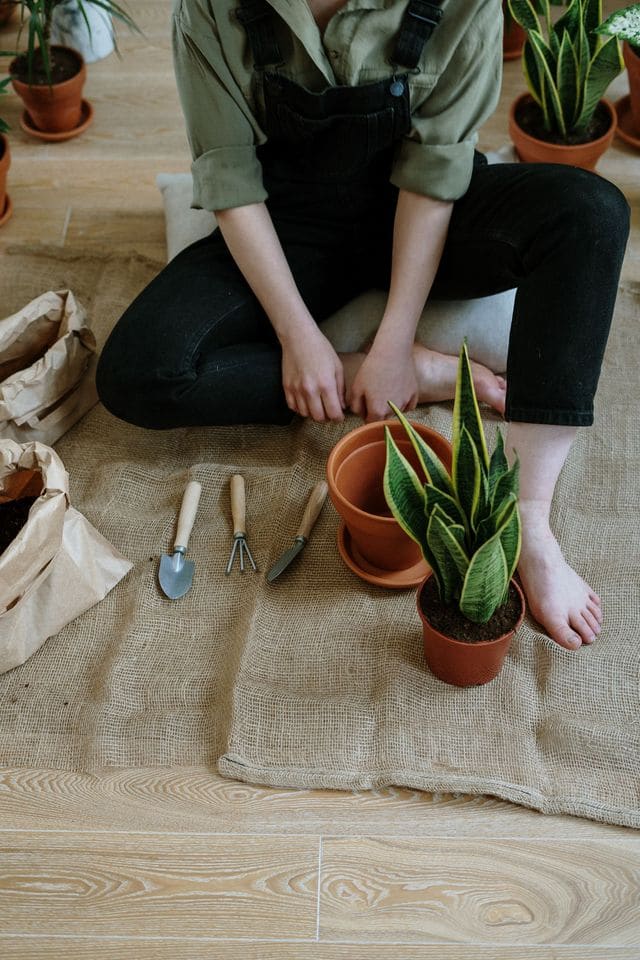
Photo: cottonbro studio / Pexels · free stock, attributed
Fruiting crops need more root volume and sturdier stakes than a tray of pansies. On a temperate Northern Hemisphere urban balcony (roughly USDA zones 6–8), start with a small kit sized for pots, not a backyard shed. Hotter sites add shade cloth and larger cans; colder sites need somewhere dry to stash empty pots for winter. Keep walkways clear — pots must not block the exit path.
Compiled from common balcony edible-container practice; quantities below are planning ranges checked against public extension guidance where cited.
Pot materials that earn rail space
| Type | Strength | Weakness | Best use |
|---|---|---|---|
| Plastic / resin | Light, holds moisture | Can overheat in west sun | Tomatoes, peppers, daily waterers |
| Terracotta | Breathable walls | Heavy when wet; dries fast | Mediterranean herbs |
| Fabric grow bags | Air pruning, cheap | Soft sides need a tray | Large fruiting plants on floors |
| Rectangular troughs | Root crops, salad rows | Easy to overwater ends | Radish, carrot, lettuce |
Round pots are often sold by “number” or diameter. A rough guide: 18 cm diameter ≈ nursery 6-inch class; 30 cm ≈ 10-inch. Size by liters of mix, not looks: cherries often want 8–15 L, bush tomatoes and peppers 15–25 L, indeterminate tomatoes 25–40 L with a cage. Check the minimum pot size tool before buying a matching set.
Skip a gravel layer in the bottom — it raises the perched water table. Use open drain holes, a scrap of mesh over large openings if needed, and a drainable mix.
Hardware that prevents neighbor problems
- Pot feet or a slatted board under containers so runoff does not sit against concrete heat and so air moves under the base.
- Catch trays you empty within 30–60 minutes after watering — see saucer flooding.
- Soft pads or clamps on railing boxes so paint and metal do not grind.
- One sturdy cage or stake set per fruiting plant (bought before the plant flops).
Estimate wet weight before lining a rail with six 20 L pots: pot soil weight tool.
Hand tools (edible add-ons)
If you already own the eight-tool flower kit, add only what fruiting crops force:
| Add-on | Why |
|---|---|
| Soft ties + taller stakes / cage | Tomatoes and beans outgrow herb snips alone |
| Narrow dibber or finger | Point-sowing radish and carrot in troughs |
| Spray bottle or fine rose | Seed trays and newly sown lettuce |
| Dedicated harvest basket or colander | Keeps soil off kitchen counters |
| Labels | Variety + sow/transplant date; edible mixes look identical as seedlings |
Bypass snips still do the cutting. Kitchen scissors stay in the plant caddy, not the food drawer.
Placement checklist
- Map hours of direct sun on the rail and floor — fruiting crops usually want 6+ h; salad can take brighter shade in July heat.
- Leave a clear path to the door; stack empties indoors or under a bench.
- Put the heaviest pots against walls or on the slab, not cantilevered on a weak railing box.
- Group plants with similar water needs so one can does not drown herbs while saving tomatoes.
First purchase order
Buy in this order: drainable mix + one correctly sized pot → tray/feet → plant or seed → stake/cage → fertilizer labeled for vegetables. Fancy self-watering boxes can wait until you know how fast your rail dries in a heat week.
Sources
- University of Minnesota Extension — Growing vegetables in containers
- Colorado State University Extension — Container gardens
- UC ANR — Drainage in containers